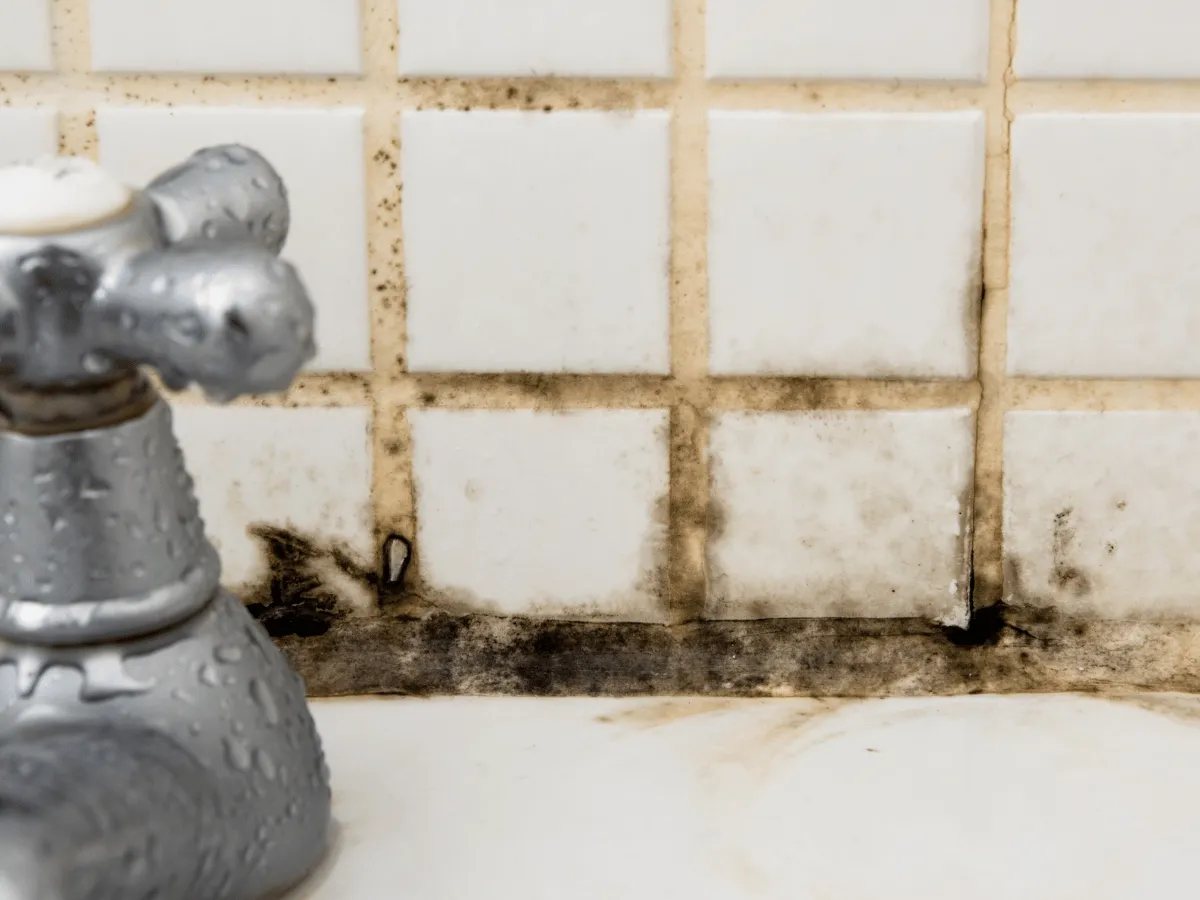
Discovering how to remove mould from grout can restore the cleanliness and aesthetic appeal of your tiled surfaces, while also providing a healthier living environment. Mould thrives in the damp, warm conditions commonly found in bathrooms and kitchens, and the porous nature of grout makes it an ideal breeding ground for these unsightly and potentially harmful spores. Not only is mould a visual nuisance, but it can also pose significant health risks, especially for those with allergies or compromised immune systems. Tackling this problem head-on requires a combination of appropriate cleaning methods, regular maintenance, and preventive measures. This article offers a comprehensive guide on how to safely and effectively eliminate mould from grout, covering everything from natural remedies to chemical solutions, along with essential advice for keeping mould at bay in the future.
Understanding Mould in Grout
Causes of Mould Growth in Grout
Mould in grout is a common issue in many homes, especially in areas that are warm, moist, and lack good air circulation. Grout, whether it’s made of marble, ceramic, cement, or terracotta, is quite porous and soaks up water easily, which sets the stage for mould to thrive.
If you’ve got dark-coloured grout, it can trap moisture even more, making things worse. High humidity, water leaks, and the accumulation of organic materials like soap scum and skin cells also contribute to mould growth in grout lines. This is particularly true in bathrooms and kitchens where these conditions are often present.
Health Risks of Mould Exposure
Being exposed to mould, especially to black mould known as Stachybotrys chartarum, can be harmful. This type of mould usually looks like dark greenish-black or blackish-green spots. They might have a slimy or fuzzy texture and can give off a musty, earthy smell.
When mould spores go airborne, they can cause respiratory issues and other health problems. If you have allergies or a weakened immune system, you’re at a higher risk. That’s why it’s important to address mould growth quickly and safely to keep these risks low.
Identifying Mould in Your Grout
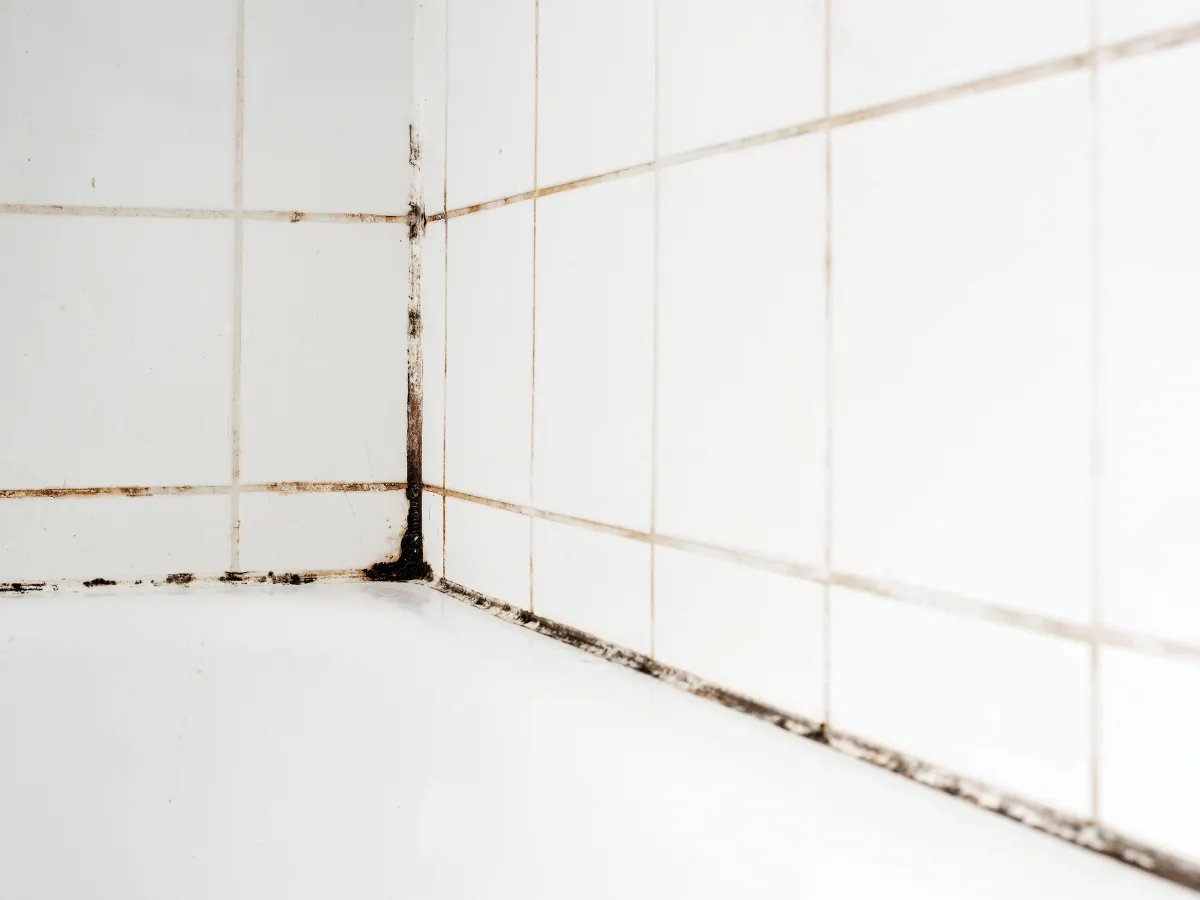
Catching mould in your grout is the first step to getting rid of it. Mould often appears as discolouration or staining in the grout lines. Black or dark patches are definite signs that it’s there.
The texture of the grout might also change, turning slimy or fuzzy as the mould grows. A constant musty odour is another giveaway. If the mould has sunk deep into the porous surface of the grout, it might be tough to get rid of completely. In those cases, you might need to call in professional cleaning services. Keeping an eye on your grout lines and cleaning them regularly can help you catch and prevent mould growth early on.

Preparing to Clean Mouldy Grout
Safety Measures and Protective Gear
Before you begin the removal process, ensure your own protection. Wearing an N-95 particulate respirator is crucial as it filters out a significant portion of airborne particles and is specifically recommended for such tasks.
Suit up in clothing that can be disinfected or disposed of post-cleanup. Long rubber gloves are essential to shield your skin from both the mould and any aggressive cleaners you might use. For eye protection, opt for non-vented goggles to create a reliable seal against any spores or particles.
Individuals with pre-existing health conditions or immune deficiencies should exercise additional caution. In instances of extensive contamination, consider enlisting a professional with the appropriate equipment and expertise to safely manage the situation.
At Steam Clean Team we have a wide range of services to combat mould such as carpet mould removal and grout mould removal.
Tools and Materials Needed for Cleaning
A variety of tools and agents are at your disposal for this task. Natural options like vinegar or baking soda can be effective, as can specialised products designed for mould elimination.
A stiff-bristled brush will be necessary to agitate the grout after the chosen solution has loosened the mould. For more stubborn areas, a brush designed for professional use may be required. Ample water for rinsing and clean clothes for drying are also needed.
Ventilation and Pre-Cleaning Preparations
Ensure adequate airflow by opening windows or employing a fan, which will not only help in reducing spore inhalation but also aid in moisture evaporation post-cleanup.
Addressing any excess moisture before starting is beneficial. By removing any visible water and using a dehumidifier, you can maintain a dry environment, which is less conducive to mould proliferation.
In persistently damp conditions, particularly in cooler weather, periodic airing out and a temporary increase in indoor temperature can assist in lowering wall moisture content, which is a common precursor to mould issues.
By adhering to these preparatory measures, you create a more secure setting for mould eradication and lay the groundwork for a successful cleaning routine. Managing humidity levels is a proactive measure to deter future mould occurrences.
Natural Mould Removal Methods
Vinegar and Baking Soda Scrub
For a homemade paste, combine baking soda with a sufficient amount of vinegar to achieve the right texture. Apply this mixture liberally to the grout and allow it to penetrate for a few minutes. The acidity from the vinegar will work to neutralise the mould, and the baking soda’s texture aids in the removal process. Afterward, cleanse the area with warm water.
If the mould persists, additional effort with a brush may be necessary. However, be cautious with vinegar on sensitive materials and always conduct a spot test.
Hydrogen Peroxide Applications
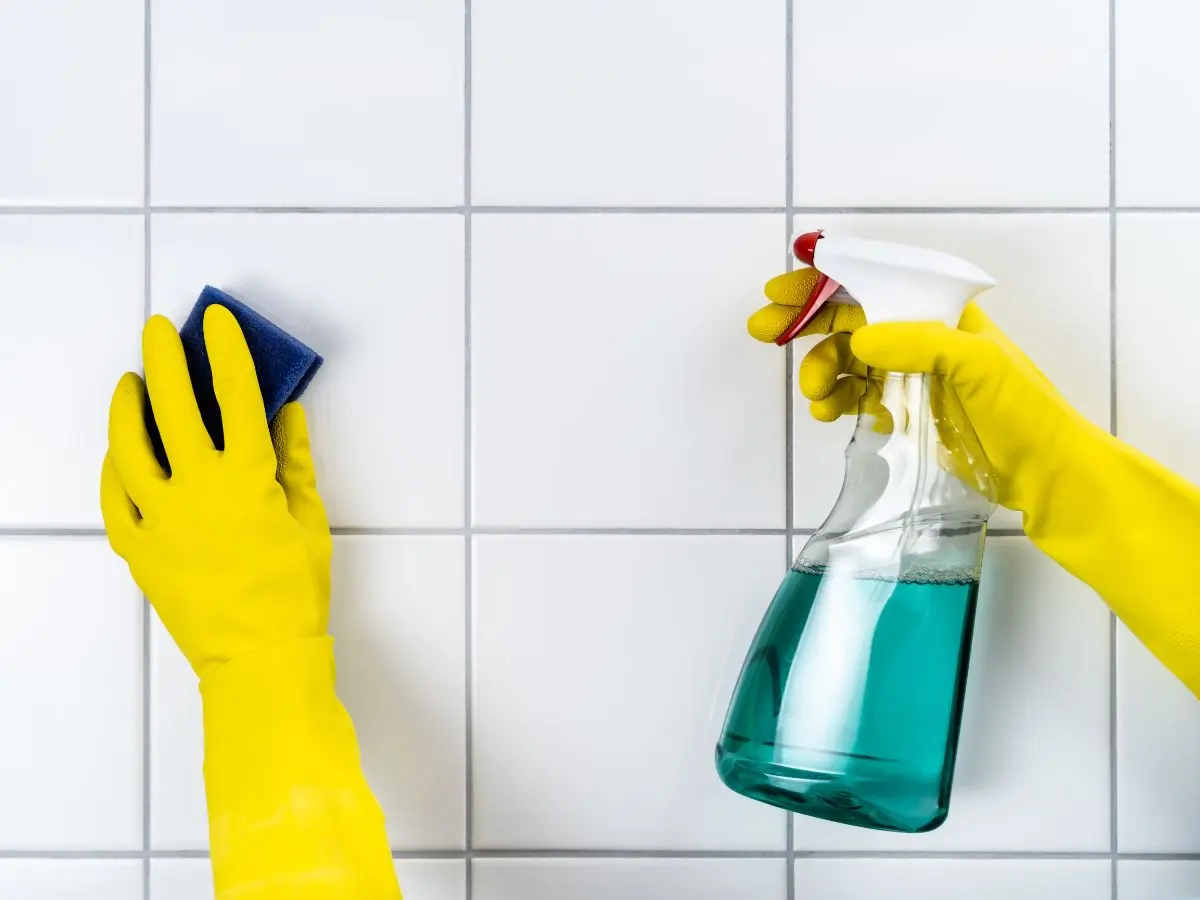
Hydrogen peroxide, with its antimicrobial properties, is another option for treating solid surfaces. Apply a 3-percent solution, the typical concentration found in stores, with a spray bottle and saturate the mouldy grout. Wait for the bubbling reaction to cease before scrubbing and drying the area. A second application may be required for persistent mould.
Be aware that hydrogen peroxide can lighten natural materials and is less effective on porous surfaces.
The Role of Tea Tree Oil
Tea tree oil is a potent natural fungicide favoured for its efficacy and minimal environmental impact. Combine 2 teaspoons with two cups of water in a spray bottle. Apply the mixture directly to the mould, let it sit, and then scrub the area. Always wear gloves when handling tea tree oil and avoid ingestion due to its toxic properties.
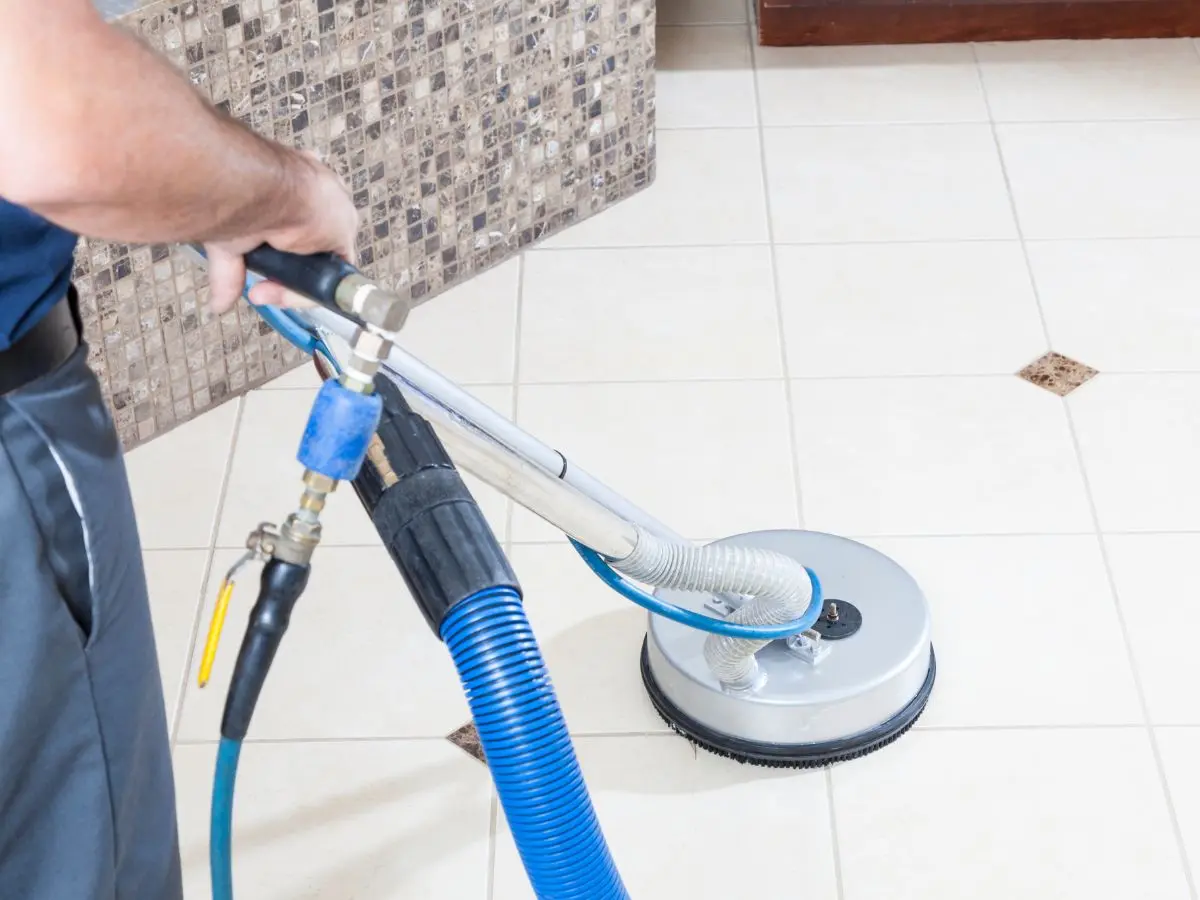
After any cleaning method, thorough rinsing and drying are imperative to hinder mould’s return. Regular cleaning and maintaining proper ventilation are preventative measures. For large or hazardous infestations, seek professional high pressure cleaning.
Chemical Solutions for Mould Removal
When natural methods are insufficient, chemical solutions can be a powerful alternative. In Australia, a variety of commercial products are available that are formulated to address mould issues, ensuring cleanliness and hygiene.
Choosing the Right Commercial Cleaner
For those seeking a commercial solution, options like Selleys Rapid Mould Killer and White King Mould & Mildew Remover are commonly used.
Selleys Rapid Mould Killer is known for its ability to eradicate 99.9% of germs, including E. coli and Staphylococcus, and comes in a convenient trigger pack for easy application.
White King Mould & Mildew Remover is effective against persistent mould and soap scum, leaving behind a pleasant lemon fragrance. When selecting a commercial cleaner, consider the specific surfaces you’ll be treating and perform a spot test to ensure no adverse effects occur. Once confirmed, proceed with the application as directed by the product’s guidelines.
Bleach-Based Cleaning Techniques
For a more aggressive approach, bleach can be a formidable option. Products containing sodium hypochlorite, such as Clorox® Disinfecting Bleach, are adept at eliminating mould spores and removing stains. It’s important to dilute bleach according to the manufacturer’s instructions to ensure safety and surface integrity.
Apply the diluted bleach solution with a brush, allowing it to remain on the grout for the time specified, typically around 10 minutes, to maintain the surface’s moisture. During this period, agitate with a nylon brush if necessary to address more severe stains.
Following treatment, rinse the area well with water and allow it to air dry.
Precautions When Using Harsh Chemicals
When handling chemical solutions, prioritise safety by donning protective gloves and a mask to prevent skin contact and inhalation of harmful vapours. Ensure the space is well-ventilated to minimise inhalation risks.
Be cautious of slip hazards post-application, particularly with products like Selleys Rapid Mould Killer. Thoroughly rinse floors to prevent any residue that could cause slips. Additionally, be cautious with bleach on sensitive materials to avoid damage or discoloration.
Adhere to the instructions provided, avoiding exceeding the suggested contact time or dilution ratio. Store bleach and other chemical cleaners in a cool, dry place, shielded from sunlight to preserve their efficacy for up to a year, whether opened or not.
For significant mould issues or if uncertain about the safety of a product, consider consulting a professional cleaner.
Preventing Future Mould Growth
To prevent mould from returning, it’s essential to maintain a proactive stance. Regular cleaning and maintenance, sealing grout, and managing humidity and ventilation can significantly reduce the likelihood of mould reappearing.
Regular Cleaning and Maintenance Tips
Consistent cleaning and maintenance are pivotal in keeping mould at bay. While tiles generally offer a less hospitable surface for mould due to their non-porous nature, grout’s porousness can absorb moisture and foster mould growth.
Incorporating the cleaning of your shower into your weekly chores can be highly beneficial. A daily shower spray can help in maintaining a mould-free environment. Ensuring the shower area is left open after use will aid in its drying process.
Employing a squeegee to eliminate excess water from the shower’s surfaces will further decrease moisture levels. Drying tiles with a towel post-shower, ensuring the shower curtain or door is left open, and drying towels properly can all contribute to a less moist environment that deters mould. Allowing sunlight to enter by keeping shades open can also be advantageous, as mould prefers darker conditions.
Applying an anti-mould product to your tiles on a weekly basis can offer additional defence against mould establishment.
Grout Sealing for Long-Term Protection
Applying a sealant to your grout can provide enduring defence against mould. Products such as Aqua Mix Sealer’s Choice Gold can shield your grout for extended periods, preserving the natural appearance of your tiles and grout without altering their finish.
Such sealants not only resist stains but also contain inhibitors that prevent mould and mildew. For shower floors and other high-moisture areas, a potent sealant like Miracle Sealants 511 Porous Plus can offer superior protection, designed to prevent stains from permeating the grout.
Ensure the grout is immaculate before applying the sealant with a suitable tool, allowing it to penetrate before wiping off any surplus. A second application may be warranted for comprehensive coverage, and it’s prudent to reseal annually to maintain its effectiveness.
Humidity Control and Ventilation Solutions
Effective humidity management is crucial in mould prevention. If your bathroom lacks an exhaust fan, alternative methods to promote air circulation should be utilised. Leaving a window open or the door slightly open after showering can assist in reducing moisture in the air.
For bathrooms without natural ventilation options, deploying a dehumidifier can be an effective strategy to sustain a less humid atmosphere.
Maintain a Mould-Free Home
With the right approach, tools, and consistent care, your grout can remain free of unsightly and unhealthy mould. Whether you choose the power of natural cleaning agents or the robust efficiency of commercial mould removers, the key is regularity and diligence in your cleaning routine.
Remember, protective gear is essential to keep you safe during the cleaning process, and proper ventilation is crucial, both during and after to prevent the mould’s return.
If ever in doubt, or if the situation seems too persistent, don’t hesitate to call in a professional.
With these strategies in place, your grout can stay clean, your indoor air quality high, and your home a healthier place for you and your loved ones.

