Learning how to clean tile grout effectively is an essential part of maintaining a pristine and hygienic home environment. Grout, the material filling the gaps between tiles, not only ensures the stability of the tile installation but also contributes to the overall aesthetic of your space. Over time, however, it can become a harbour for dirt, grime, and bacteria, detracting from the beauty of your tiles and potentially causing health concerns. Whether you’re using professional-grade products, opting for eco-friendly solutions, or employing home remedies, understanding the proper techniques and tools is crucial for preserving the integrity of your grout. This guide offers a comprehensive approach to grout maintenance, covering everything from preparation and cleaning to prevention and daily upkeep, ensuring your tiled areas remain as immaculate as the day they were installed.
Introduction to Tile Grout Maintenance
Understanding the Importance of Clean Grout
Tile grout is essential in keeping the integrity and appearance of your tiled floors in top shape. It’s the material that binds tiles together, made of water, cement, and sand that hardens to secure them in place. But grout isn’t just about function; it also plays a big part in how your floor looks.
When grout lines are clean, they contribute to a floor that looks fresh and well-maintained, making a great impression on visitors or clients. But there’s more to it than just looks. Dirt and grime that build up over time can weaken the grout’s seal, which might lead to damage down the line.
This kind of wear and tear can lead to costly repairs or even the need to replace the entire floor. Plus, clean floors are safer, cutting down the risk of slips from grease or organic particles. You’ll want to keep up with regular cleaning to maintain traction and prevent bacteria and fungi from taking hold, which thrive in damp areas like kitchens and bathrooms, posing health risks and causing unpleasant odours.
Identifying Common Grout Cleaning Mistakes
When it comes to maintaining tile grout, it’s easy to make mistakes that do more harm than good. Scrubbing grout lines too hard can dislodge the sand, weakening the structure. Using the wrong household cleaners can also damage grout over time.
A frequent mistake is mopping incorrectly, which can leave dirty water to seep into the grout lines, leading to stains and more damage. These errors can diminish the grout’s appearance and eventually require extensive repairs. It’s crucial to realise that cleaning tiles and cleaning grout are two different tasks to avoid causing damage.
Preparing to Clean Your Tile Grout
Getting ready to clean your tile grout means knowing the right techniques and tools for a thorough job without causing damage. Professional tile and grout cleaning services have the appropriate products and equipment to clean effectively and safely.
They’re great at getting rid of dirt and contaminants while keeping the grout intact. If you’re tackling grout cleaning on your own, it’s important to follow the pros’ lead and use the right methods and solutions. Preparing also means knowing when a job is too tough for a DIY approach and when to call in professional help.
This ensures a deep and lasting clean, saving you time and effort in the long run. It also helps to keep your floor safe and looking good.
Gathering Your Grout Cleaning Supplies
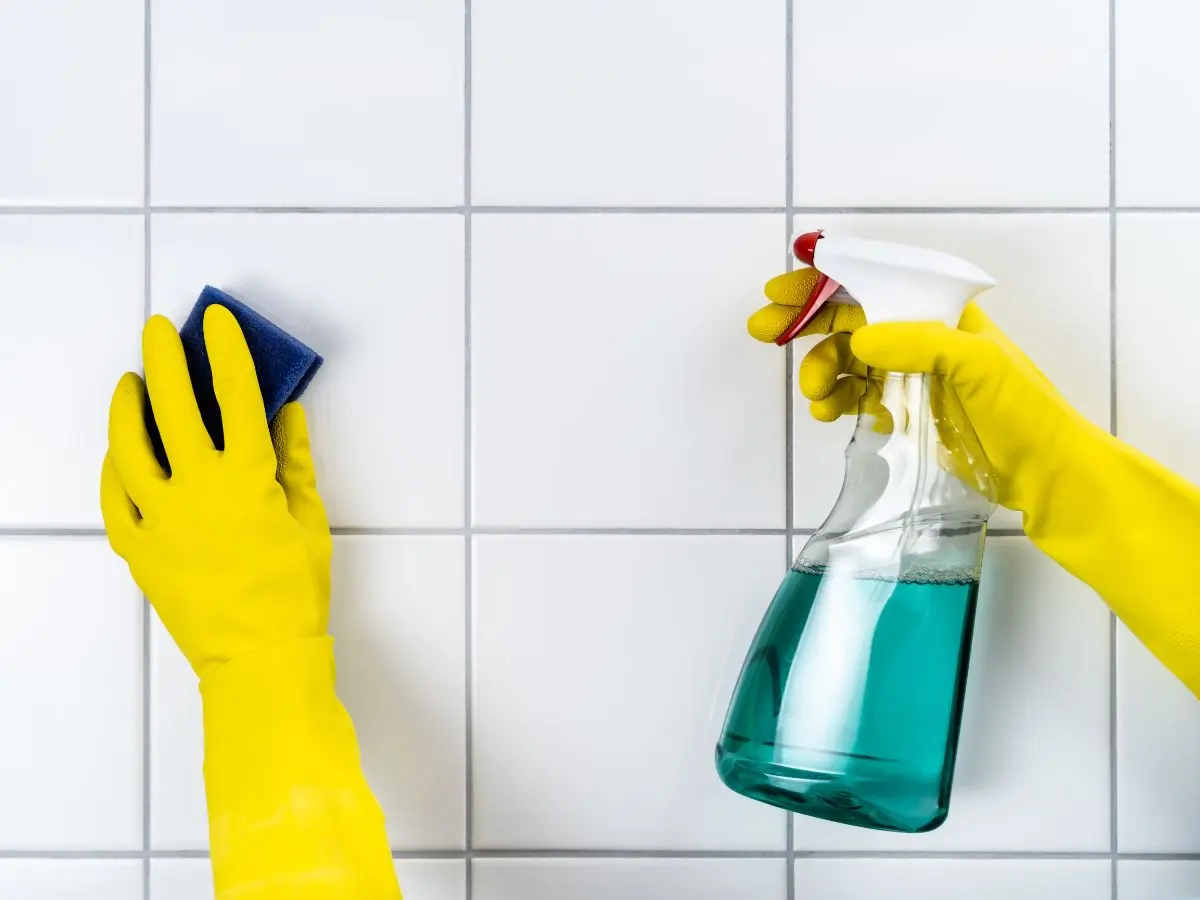
Before you begin the cleaning process, assembling the appropriate tools and solutions is crucial. This preparation ensures the task is carried out efficiently and safeguards the grout and tiles from potential harm.
Essential Cleaning Tools and Products
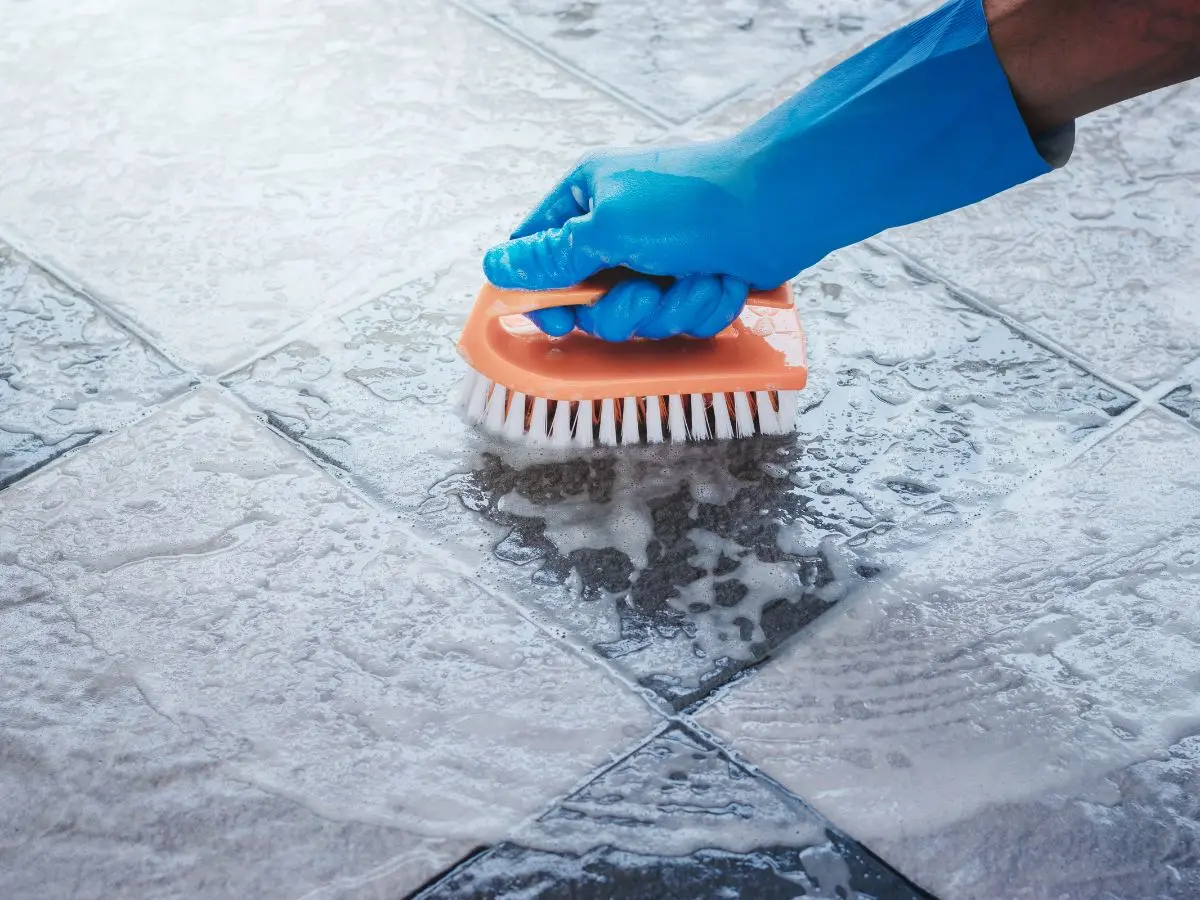
For effective scrubbing, a robust brush with stiff bristles is necessary. It should be capable of dislodging dirt while not damaging the grout. For larger spaces, consider a brush with a long handle to facilitate the job and reduce strain on your back.
A spray bottle can be useful for targeted application of cleaning agents to the grout lines, helping to control the amount of liquid used and prevent saturation. After loosening the dirt, microfiber cloths are excellent for cleaning the surface and drying the tiles.
Professional-grade cleaners are formulated to dissolve the oils and debris commonly found in grout lines without causing deterioration. For more persistent stains, a steam cleaner might be employed, utilising high-pressure steam to dislodge and eliminate grime.
Eco-Friendly Alternatives for Grout Cleaning
For those who prefer environmentally friendly options, there are effective natural alternatives. A paste of baking soda and water can be used on grout lines, with the mild abrasiveness of baking soda aiding in the removal of dirt without the use of harsh substances.
Vinegar, diluted with water, can serve as a cleaning spray. Its acidic nature helps to dissolve grime, though it should be used with care on delicate tiles like natural stone to prevent damage.
Hydrogen peroxide, known for its disinfecting properties, can be applied by itself or combined with baking soda for enhanced cleaning effectiveness. These natural options are not only more sustainable but also more suitable for households with children, pets, or individuals sensitive to harsh chemicals.
Safety Precautions and Protective Gear
To safeguard against potential hazards, wearing safety goggles is advisable to shield your eyes from splashes, particularly when using potent cleaners or vinegar. Rubber gloves are crucial for protecting your hands from abrasive substances and preventing irritation or dryness of the skin. Additional protection can be provided by wearing long sleeves and pants, especially when operating a steam cleaner.
Ensuring good ventilation is vital when working with chemical agents to prevent inhalation of fumes. Promoting air circulation by opening windows or using a fan can help dissipate airborne chemicals.
By adhering to these safety measures and selecting suitable tools and agents, both professionals and DIY cleaners can effectively maintain grout while mitigating health and environmental risks.
Steps to Cleaning Tiles and Grout
Step 1: Initial Cleaning – Removing Surface Dirt
The first phase involves a detailed inspection of the floor to pinpoint any compromised areas. After this assessment, the surface is cleaned using a vacuum or broom, followed by a damp mop to eliminate loose particles.
Step 2: Applying Grout Cleaners – Techniques and Tips
Professionals then apply specially formulated cleaners that effectively lift stubborn grime without damaging the grout. For those who prefer homemade solutions, a concoction of baking soda, hydrogen peroxide, and dish soap can be effective.
This homemade paste is applied to the grout and allowed to sit briefly to soften the dirt. When using store-bought cleaners, adherence to the provided guidelines is crucial, and protective measures, such as wearing gloves, are essential.
Step 3: Scrubbing Tactics – Best Practices for Tough Stains
A specialised grout brush is used to work the cleaning solution into the grout, loosening the toughest of stains. For challenging spots, a mixture of oxygenated bleach and warm water may be applied and left to sit before scrubbing. It’s important to avoid acidic cleaners that could harm the grout. Chlorine bleach can be used with caution on white grout, while oxygenated bleach is preferred for coloured grout to maintain its hue. Be careful when using bleach because it is a very harsh chemical. Never mix it with other cleaning products as you can easily produce harmful gases.
Step 4: Rinsing and Drying Your Tile Grout for Optimal Results
The final rinse is crucial to eliminate any residue from the cleaning agents. A hot-water extraction device is often employed for this purpose, which also helps to reduce allergens.
Allowing the area to dry thoroughly is imperative, and during this period, it’s advisable to prevent foot traffic. Once dry, applying a sealant can extend the life of the grout. Regular upkeep, such as weekly wiping with rubbing alcohol, can help prevent dirt and mildew accumulation.
Home Remedies for Grout Cleaning
Professionals often turn to a variety of home remedies to keep tile grout looking spotless. These solutions are not only effective but also gentle on surfaces. They use common household items, making them handy for regular maintenance.
Utilising Baking Soda and Vinegar Solutions
A classic combo in the world of natural cleaning agents is baking soda and vinegar. This duo is especially good at tackling the grime that accumulates in grout lines. To harness their cleaning power, you can whip up a paste by mixing baking soda with vinegar.
Slather this paste generously along the grout lines and let it sit for a bit, usually between five to ten minutes. This time lets the natural chemical reaction work its magic on dirt and stains. After the solution has done its job, a rinse with warm water will wash away the residue.
If the grout is particularly stubborn, you might need to do a bit of manual scrubbing with a brush to completely remove the dirt. Using this method regularly can help keep your tile floors looking fresh and vibrant.
The Role of Hydrogen Peroxide in Grout Maintenance
Hydrogen peroxide is another household staple with a range of uses, including grout cleaning. It’s known for its whitening properties and is a powerful disinfectant and deodorizer. To clean grout with hydrogen peroxide, mix a solution of equal parts water and 3% hydrogen peroxide in a spray bottle.
Spray this solution generously onto the grout and let it sit for about an hour to maximise its cleaning and sanitising effects. After the solution has had time to act, rinsing and wiping the area with a microfiber cloth will reveal a cleaner, brighter grout line. For exceptionally dirty grout, a stronger mixture that includes baking soda and liquid soap can be applied, followed by a waiting period to ensure effectiveness before scrubbing and rinsing.
Lemon Juice and Other Natural Acid Cleaners
Natural acids, like those in lemon juice, are also great for cleaning grout. The acidic nature of lemon juice makes it a strong fighter against stubborn stains. When mixed with baking soda, it can enhance the cleaning power and leave grout looking brighter.
Other natural acid cleaners, such as citric acid from citrus fruits, can be mixed with hot water and sprayed onto grout to combat mould and mildew. These natural solutions not only clean but also leave a fresh scent behind.
Additional natural substances like Epsom salts, which boast antibacterial properties, can be used to disinfect and clean grout. Borax, known for its cleaning and deodorising capabilities, can be rubbed into grout with a damp cloth and then wiped clean. Even common table salt can help with grout maintenance; when applied to a wet area and scrubbed in, it can kill bacteria and mould, especially if left to sit overnight before rinsing.
For a more unconventional approach, mouthwash, with its antimicrobial properties, can serve as a cleaning and disinfecting agent for tile floors. However, it’s best to avoid using it on wooden surfaces.
Regular maintenance, such as spraying a diluted vinegar solution, can help prevent future stains and odours, ensuring that the grout stays in top-notch condition. While hydrogen peroxide is safe for grout, it’s wise to avoid harsh chemicals like bleach, which can cause damage over time.

Preventing Future Grout Discoloration
Regular Cleaning Schedules and Best Practices
Maintaining the pristine condition of your grout involves establishing a regular cleaning routine. Daily attention is particularly important in moisture-prone areas. Using a squeegee to eliminate excess moisture from tile and glass surfaces after use can help in preventing the growth of mould and mildew.
Following the removal of water, a light application of a daily shower cleaner, which can be a homemade or eco-friendly product, aids in maintaining cleanliness and reduces the need for more intensive cleaning sessions.
Incorporating a more thorough cleaning into your weekly or biweekly schedule is beneficial.
It’s essential to ensure that any remnants of vinegar from previous cleanings are completely washed away before using hydrogen peroxide to avoid adverse reactions.
For grout that has become heavily discoloured, stronger cleaning agents may be necessary. Oxygen-type powdered bleach can be applied, allowed to penetrate, and then thoroughly rinsed. In situations that call for it, a chlorine bleach solution can be utilised with caution due to its potential for causing damage to surfaces.
It’s imperative to avoid combining bleach with other cleaning products and to use gloves for skin protection.
Grout Sealing Techniques for Long-Lasting Cleanliness
Applying a sealant to grout is an effective measure to extend its cleanliness and appearance. Some products on the market can both seal and tint grout, camouflaging any future discoloration.
Be vigilant for indications that grout may need to be replaced, such as flaking or loose tiles, and address these issues promptly to avert water damage.
While re-grouting can be a manageable task for those with DIY skills, for comprehensive care, consider having a professional service your tile grout annually, or semi-annually for optimal results.
Professional services can restore the appearance of your grout and ensure the use of appropriate products that are safe for both the grout and your home environment.
Achieving Sparkling Grout
Maintaining clean tile grout not only enhances the beauty of your floors but also preserves their longevity. By adopting the tried-and-true strategies of the pros, you’re equipped to tackle grout cleaning with confidence and finesse. Whether opting for commercial products or eco-friendly home remedies, the key is regular care and using the right techniques for the task at hand.
Remember, safety first: your well-being is as important as achieving that sparkly finish. And when in doubt, professional tile and grout cleaning services are just a call away to rejuvenate even the most beleaguered grout. With this guide and a little elbow grease, your grout can continue to frame your tiles beautifully, day in and day out. Keep up the good work, and watch how those clean lines contribute to a clean, inviting space.

